A stone patio is among the best investments you can make if you’re looking for a stunning and long-lasting outdoor area to unwind in, host guests, or have weekend cookouts. Whether you live in Lethbridge or somewhere else, adding a stone patio can improve your backyard and increase the value of your house right away. And guess what? It’s a project you can handle with the right tools, materials, and some patience.
This guide will show you how to lay a stone patio in six simple steps, with advice that is particularly useful for Lethbridge patio stone installation. Plus, we’ll touch on how this goes hand in hand with patio door installation for a smooth transition from indoors to outdoors.
Step 1: Plan and Design Your Patio
Before picking up any tools, planning is key. Your patio’s shape and size should be decided upon first. Which form—free-form, square, rectangular, or round—will it be? Once your outdoor space has been measured, create a rough layout sketch.
Considerations during planning:
Be sure to pick a spot with enough natural light.
A patio door installation is ideally the means by which your patio is connected to your house.
Is it going to be used for eating, relaxing, or both?
If you’re also planning to add a patio door, this is a good time to pick where it should go and what kind you want. A big sliding door or French doors can make it easier to move between your house and the patio.
Step 2: Collect Equipment and Supplies
Here’s what you’ll need to lay your stone patio:
Tools:
Shovel
Rake
Tape measure
Level
Rubber mallet
Wheelbarrow
Plate compactor or hand tamper
Materials:
Patio stones (pavers, flagstone, or natural stone)
Crushed gravel
Sand
Edging material
Landscaping fabric (optional)
Joint filler (polymeric sand or gravel)
You can source these locally or consult with a trusted contractor like S.O.S. Exteriors for patio stone installation in Lethbridge and get quality materials matched to your climate.
Step 3: Mark the Area and Excavate
Mark the perimeter of your patio area with stakes and string. Mark the edges clearly and check for squareness using a measuring tape or builder’s square.
It’s time to start digging. Make sure to dig down to a depth of approximately 6 to 8 inches. There is space for a gravel base, a layer of sand, and the stone on top at this depth.
Tips for excavation:
Slope the area slightly away from your home (about 1 inch per 4 feet) to allow proper water drainage.
Clear the area of any debris and roots for a clean, smooth surface.
If you’re installing a stone patio and a patio door, make sure the height of the patio door installation matches the threshold of your door.
Step 4: Establish a Solid Basis
Your patio won’t move or settle over time with a sturdy base. Here’s how to construct it:
Crushed gravel should be added in an approximate 4-inch layer. It can be levelled with a rake and firmly packed down with a plate compactor or hand tamper.
Layer one to two inches of coarse sand at a time. This allows drainage and helps the stones sit evenly.
Some people lay landscaping fabric before the gravel to prevent weeds—optional, but useful.
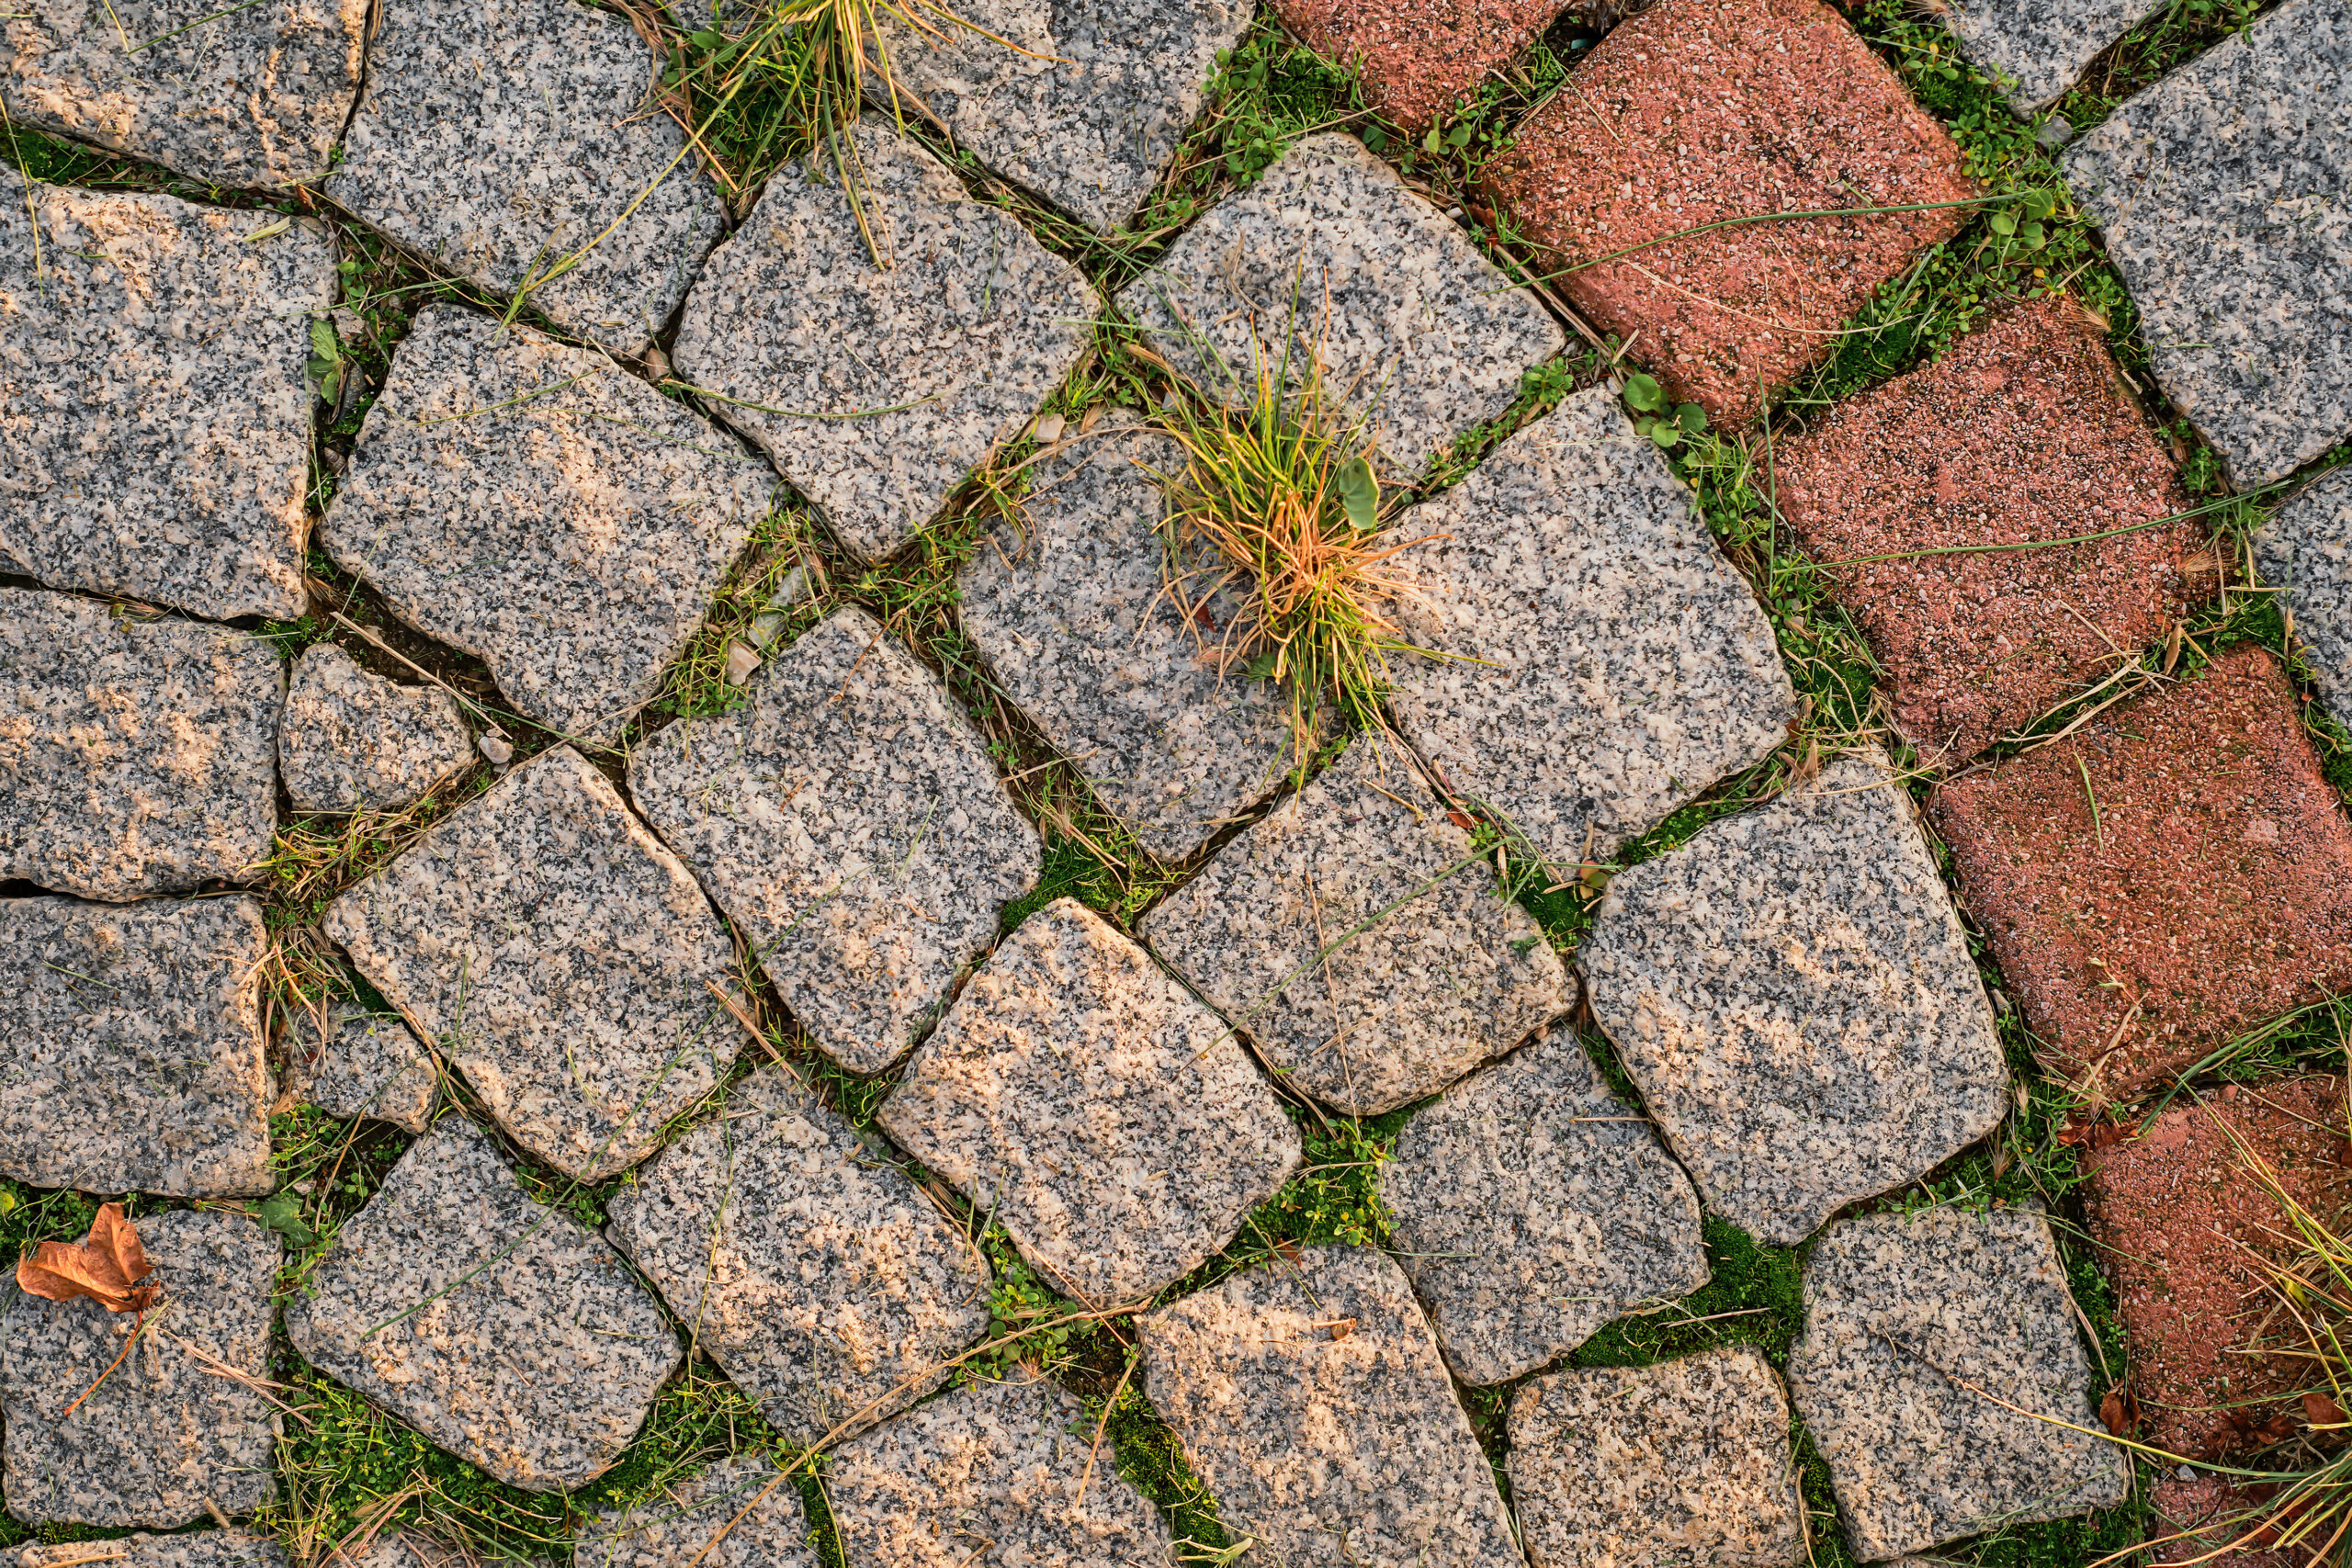
Step 5: Lay the Stones
This is where your patio starts to come alive! Carefully place your stones starting at one corner.
Tips for laying stones:
Lay each stone on the sand base and use a rubber mallet to tap it into place.
To make sure every stone is level, use a level and stick to the small slope you made when excavating.
Maintain consistent spacing between stones.
It may be necessary to chip or cut stones for irregular flagstones in order to achieve a tighter fit.
Create a beautiful pattern by taking your time, regardless of whether you’re using irregular stones or geometric pavers.
Step 6: Close Any Gaps and Complete the Patio
When every stone is in position, it’s time to secure it.
Joint filling: Fill in the spaces between stones with fine gravel or polymeric sand. Because it locks the stones in place and hardens when wet, polymeric sand is widely used.
Compact Again: Use a plate compactor over the entire patio to settle the stones and sand.
Lightly Mist: To activate the binding agent, lightly mist the patio with water if you’re using polymeric sand.
Edge the Patio: Install edging materials along the border to keep everything secure and neat.
Seal the Surface (Optional): Stone sealers can protect your patio from water, stains, and UV damage.
Combine With Patio Door Installation for the Perfect Flow
If you’re remodelling your backyard, a new patio door is the perfect addition to your stone patio. A patio door makes it easier to access your outdoor space and enhances the appearance of your house.
Benefits of patio door installation:
More natural light indoors
Improved energy efficiency
Modern curb appeal
Easy access to your patio and garden
An expert installer can guarantee correct alignment, insulation, and sealing for sliding, French, or garden doors.
Because the team at S.O.S. Exteriors are masters at installing patio doors and patio stones in Lethbridge, you can have a complete makeover done right the first time.
End of the Line
Laying a stone patio is not hard if you follow the right steps and use good materials. You can create a nice and strong outdoor space that lasts a long time. Additionally, a new patio door can facilitate moving from your home to the patio.
S.O.S. Exteriors can assist you with patio stone installation in Lethbridge and outdoor space renovation. They have expertise in stone patio installation, patio door installation, landscaping, and other areas. They will help make your backyard look great, on time and without spending too much.